Project Description
I remember always being amazed at the night sky when I was a kid. I also remember pointing out the Orion constellation, and being so curious as to how it moved across the sky. My fascination for movement and the cosmos never wavered and always sits toward the front of my mind.
Third in a series, Orion continues the design language inherent in all my pieces but more so in this third cosmic installment. Different from the first two pieces (Particle1 and Event Horizon), Orion was not preconceived. The idea for it only came to me a few months before I got started. The previous two pieces took many months, even years of thinking and planning before I started to build them.
Some time ago, I spent a weekend in the studio with a local artist, Bill Hickman. He taught me a few things around the shop, and one of his lessons stuck. In our limited time together, I had made a small square frame-like sculpture with a collage of smaller boxes each with a different texture within. I remember Bill commenting, “Cool! Now go make 100 more like it and make a gate out of it”. This idea of repeating detailed elements was an eye opener. I took that idea and ran with it on Orion.
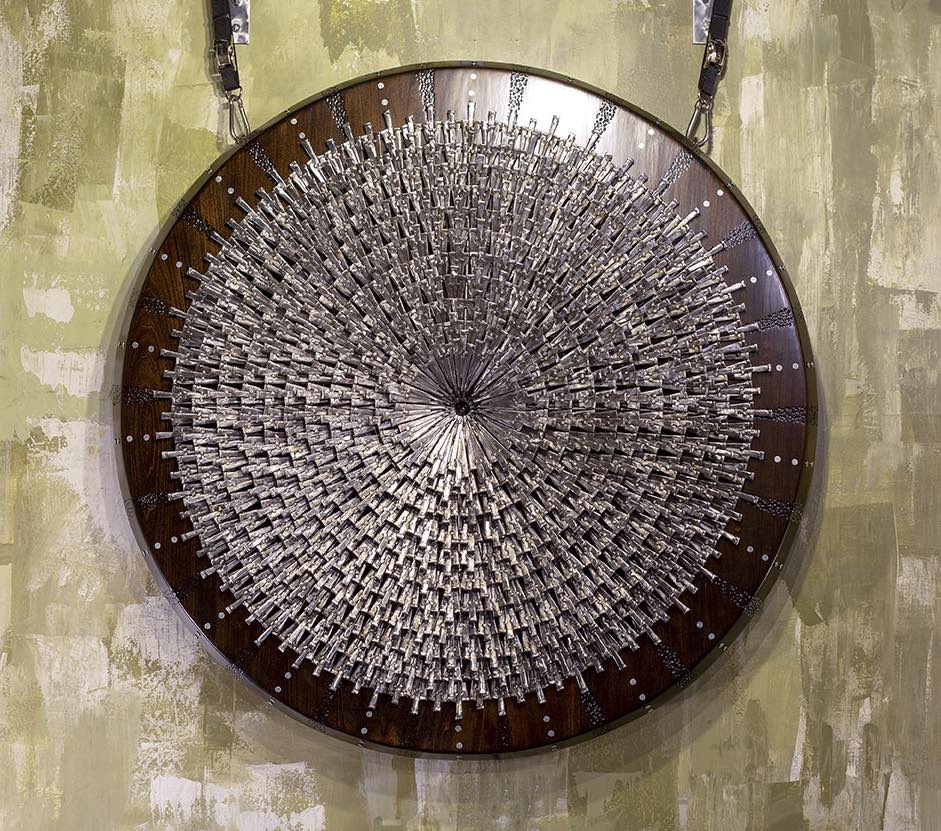
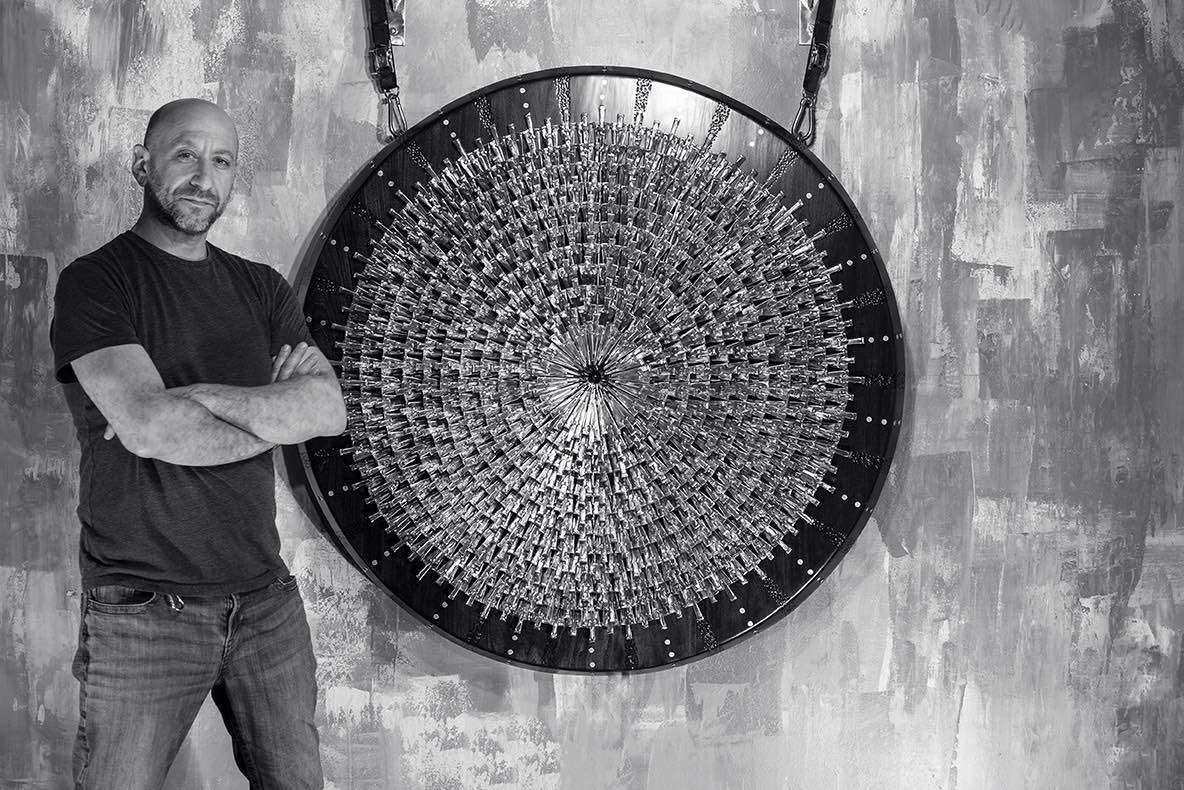
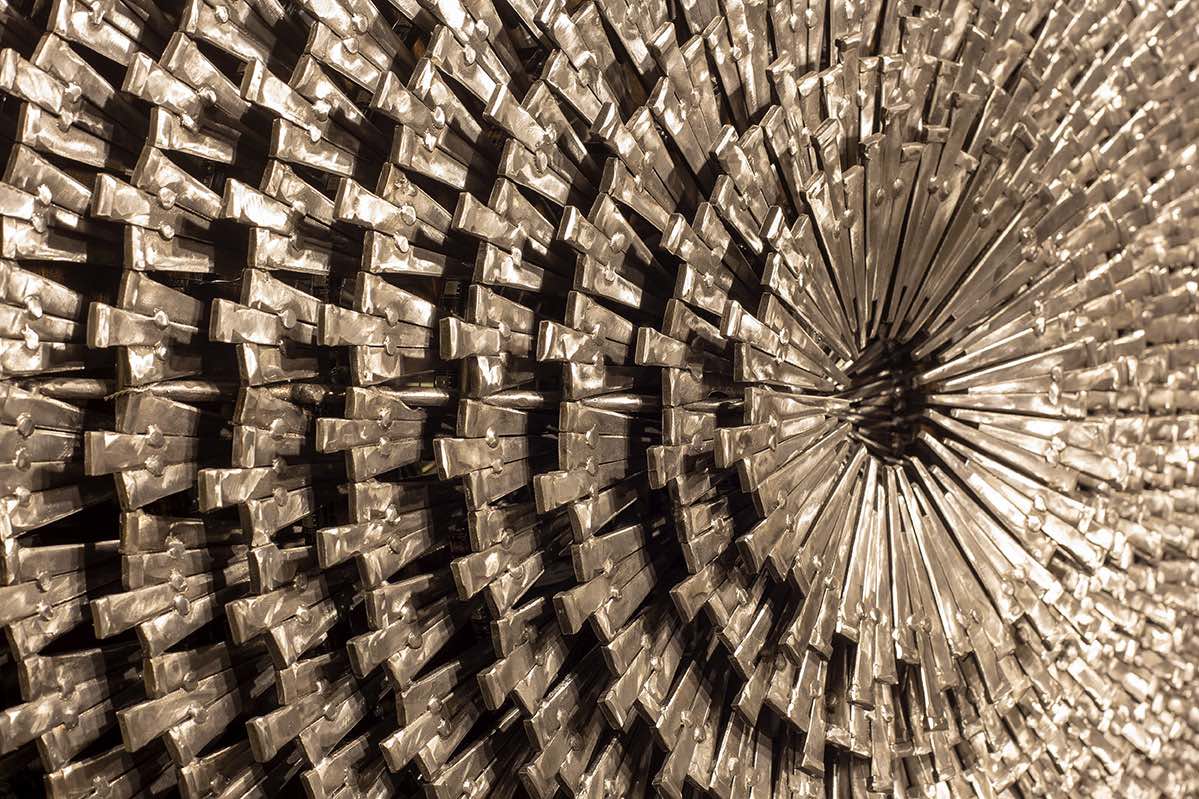
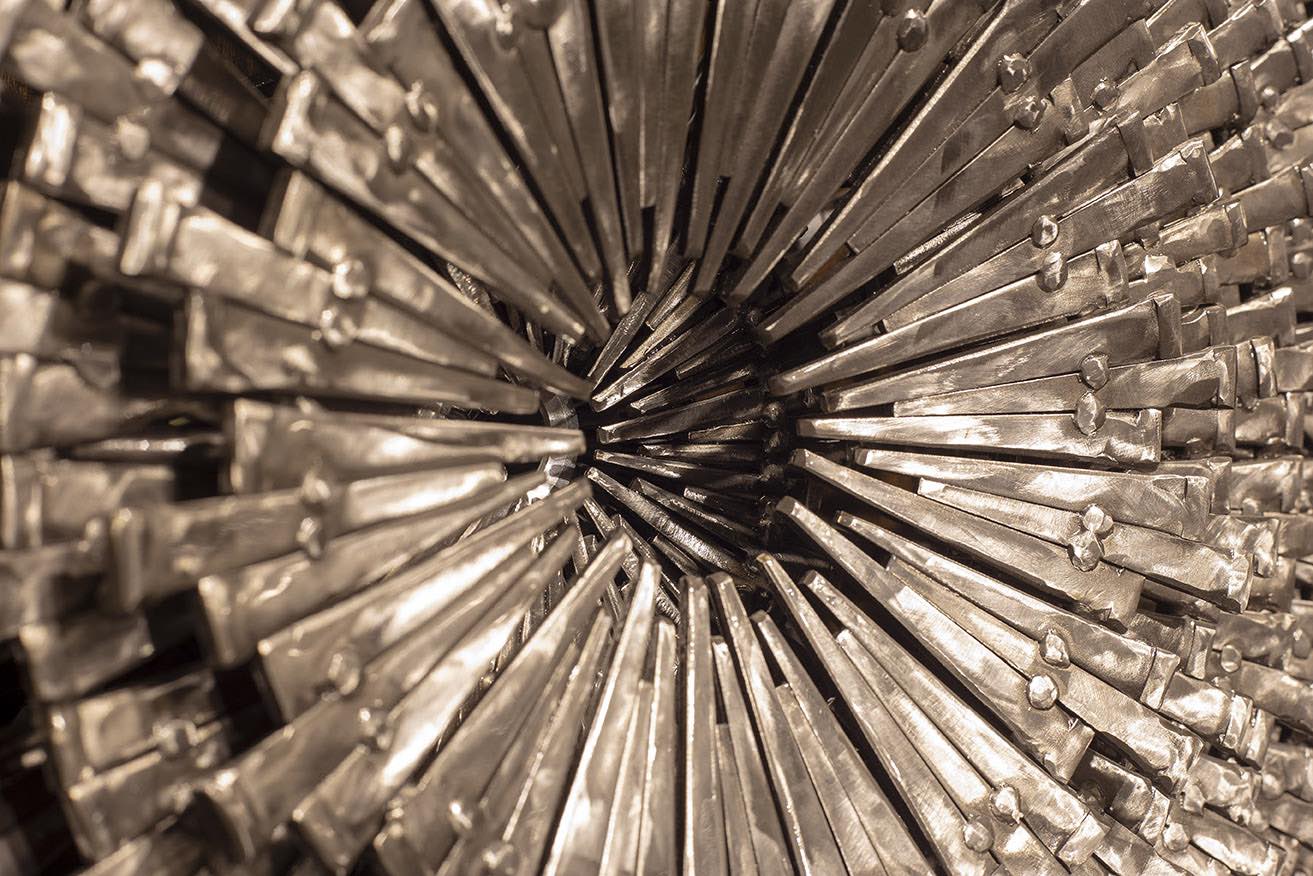
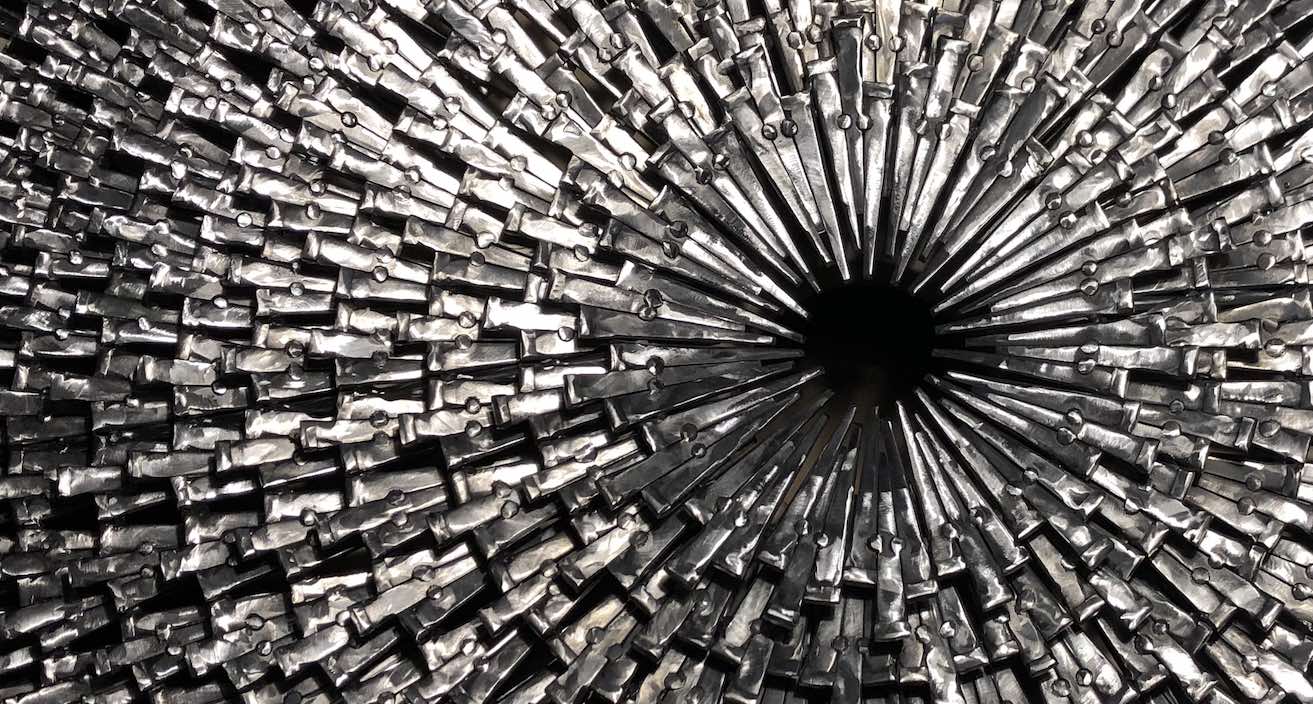
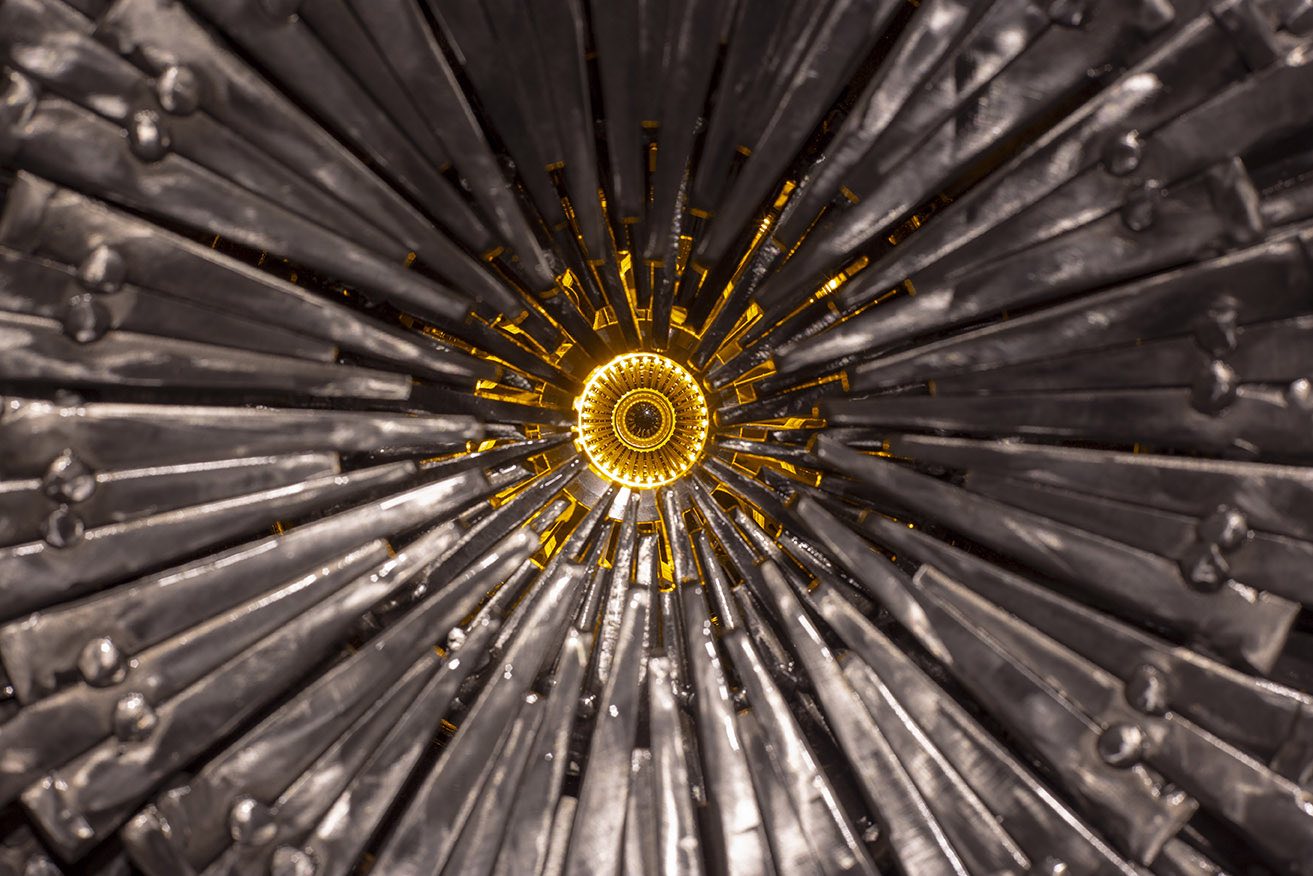
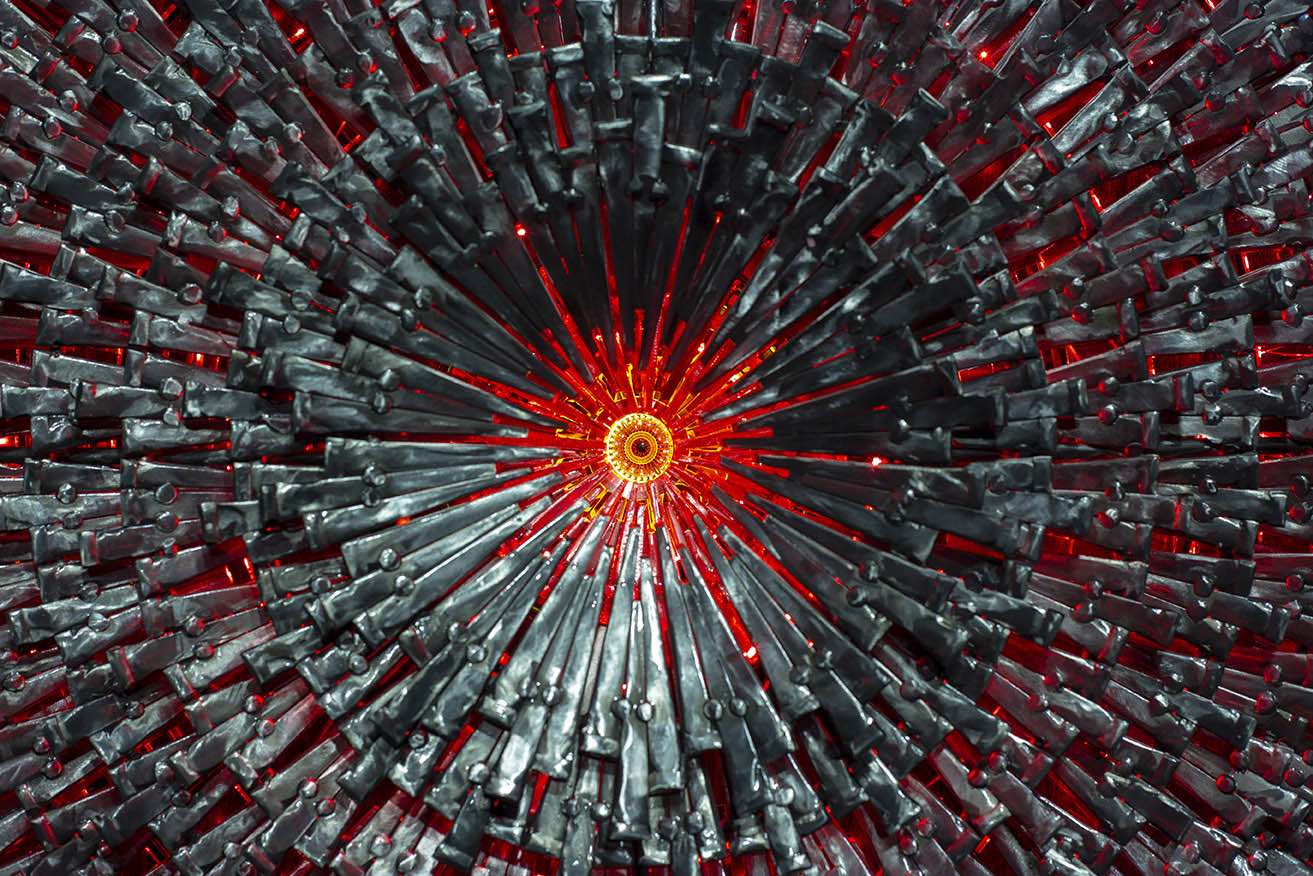
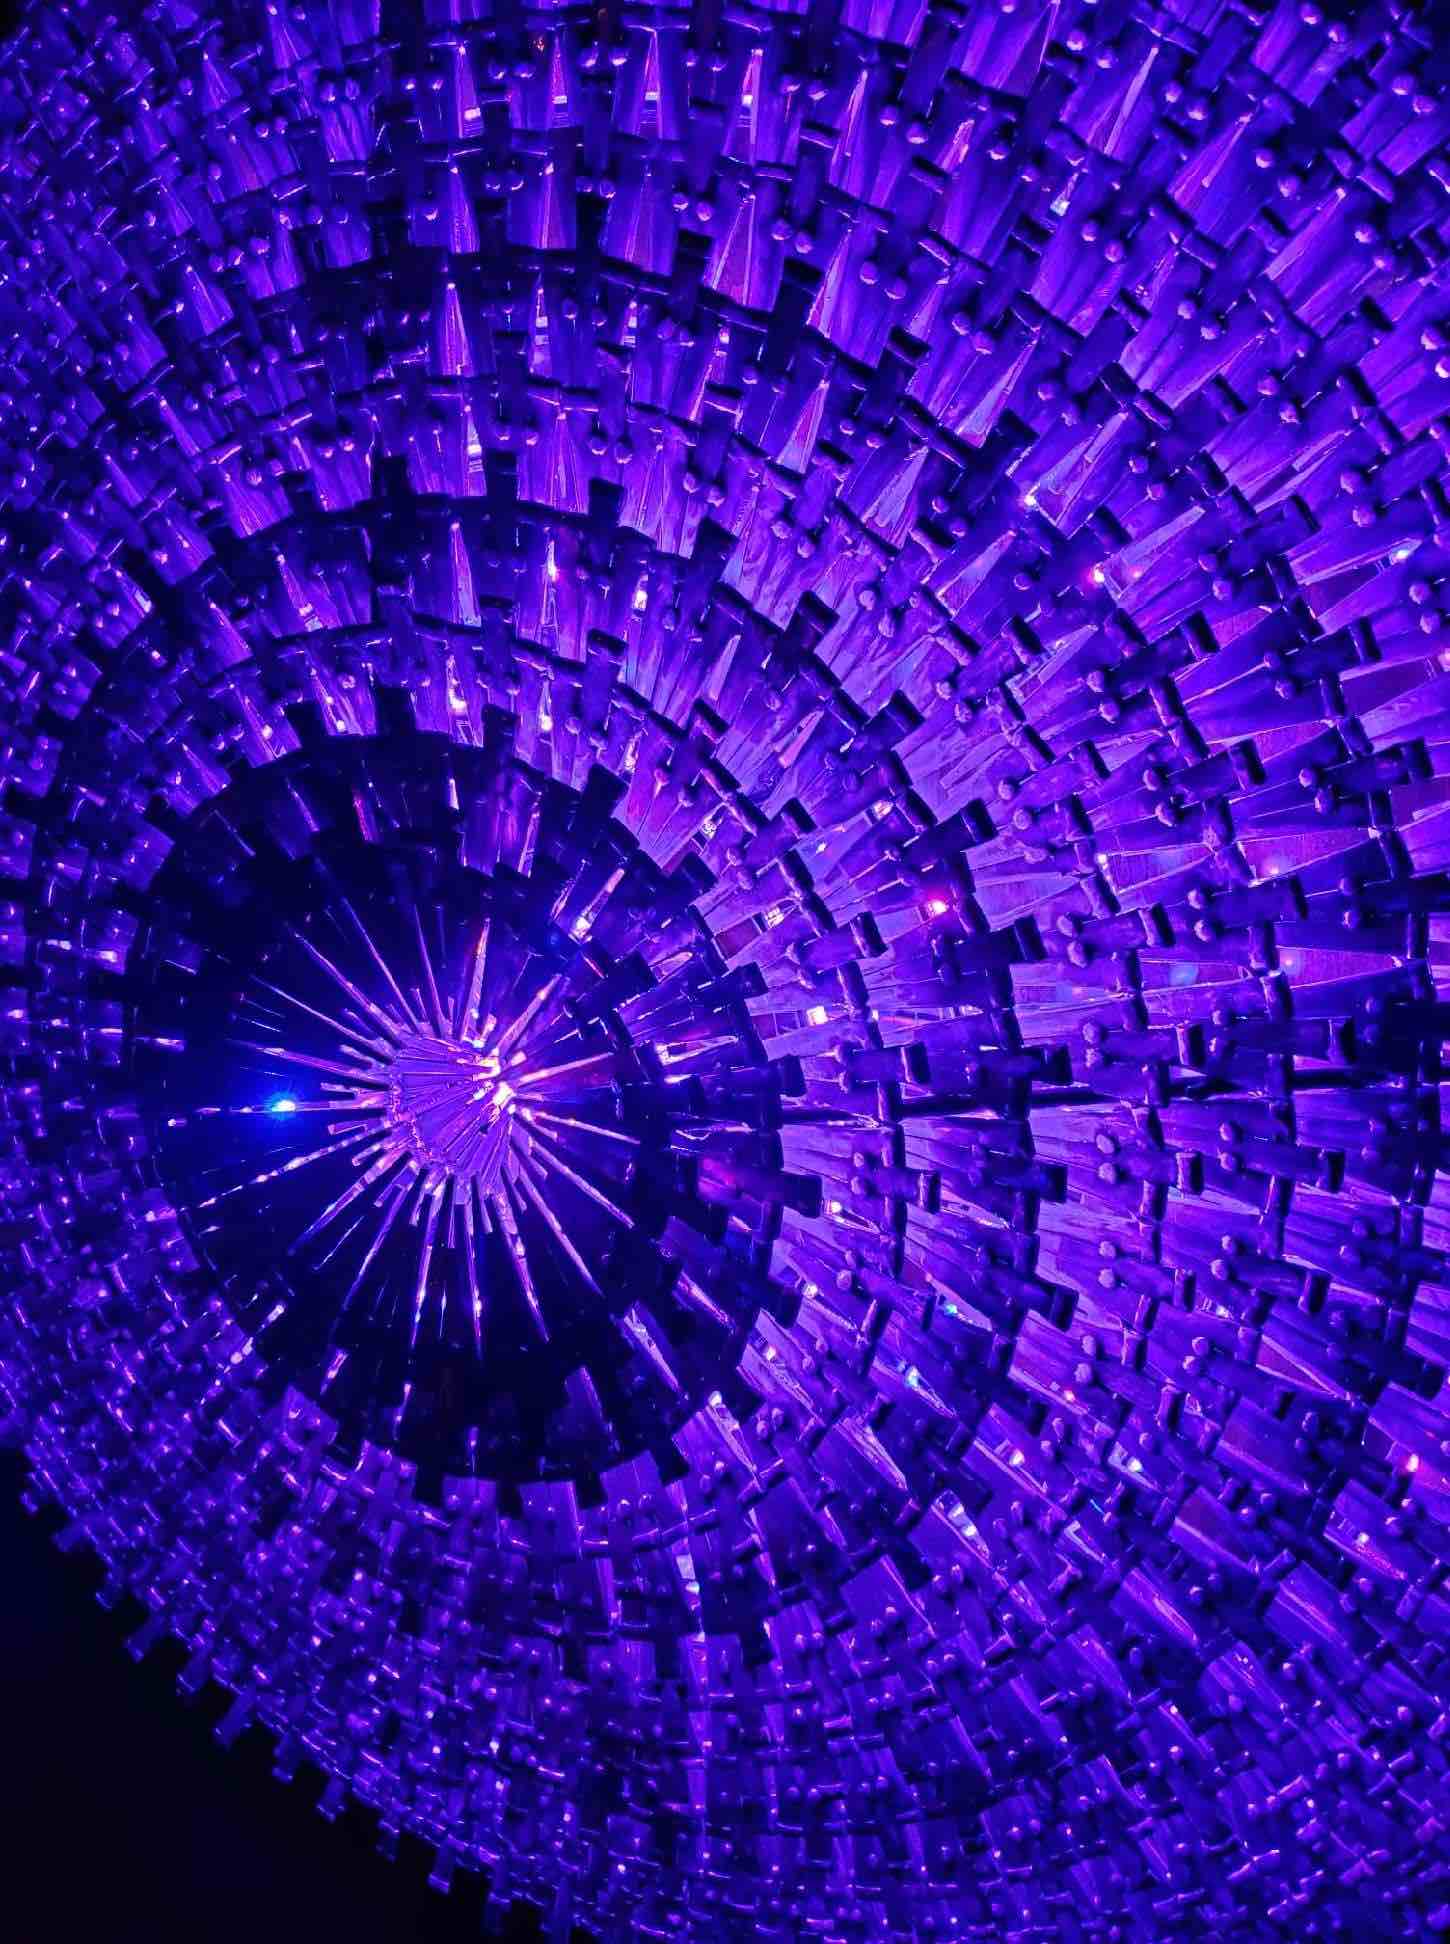
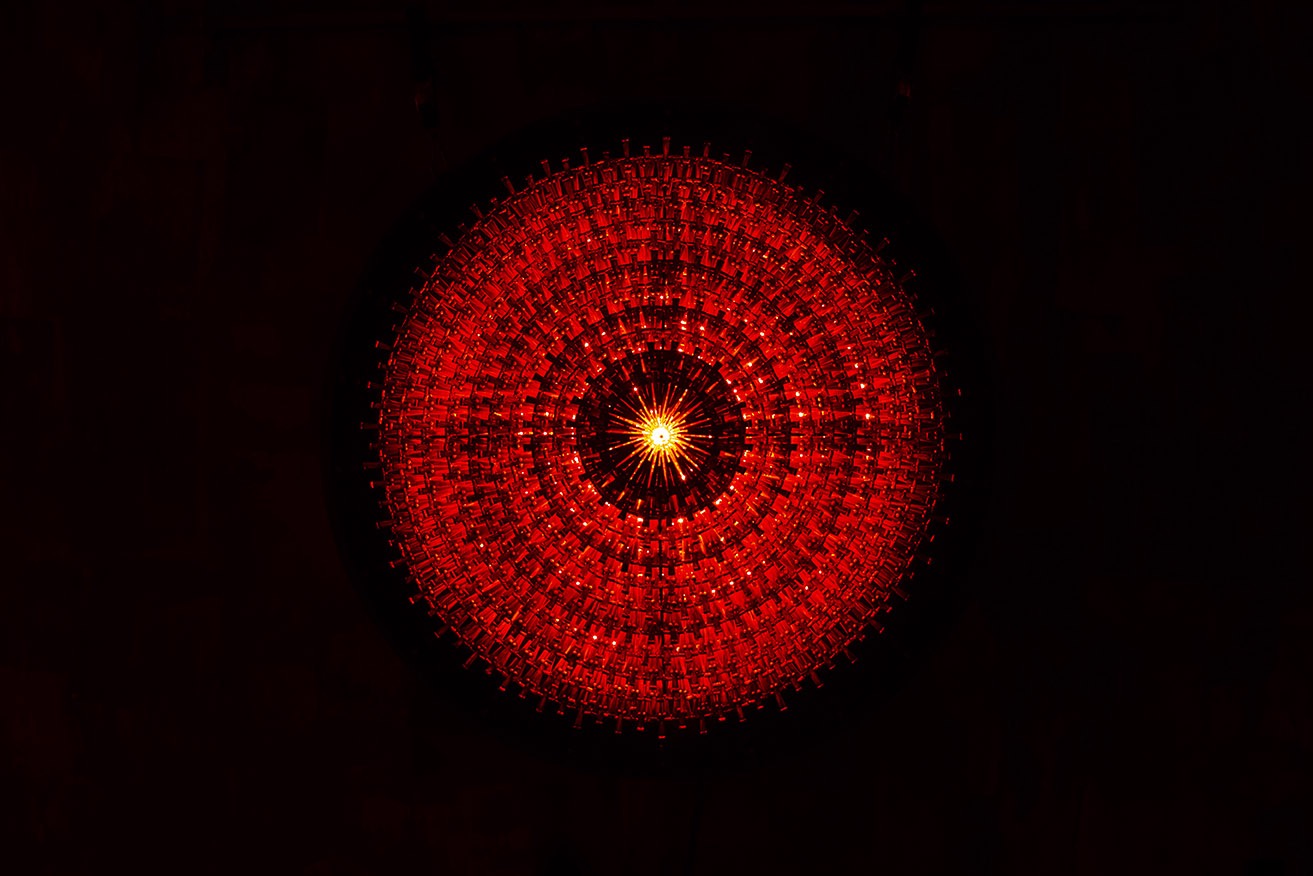
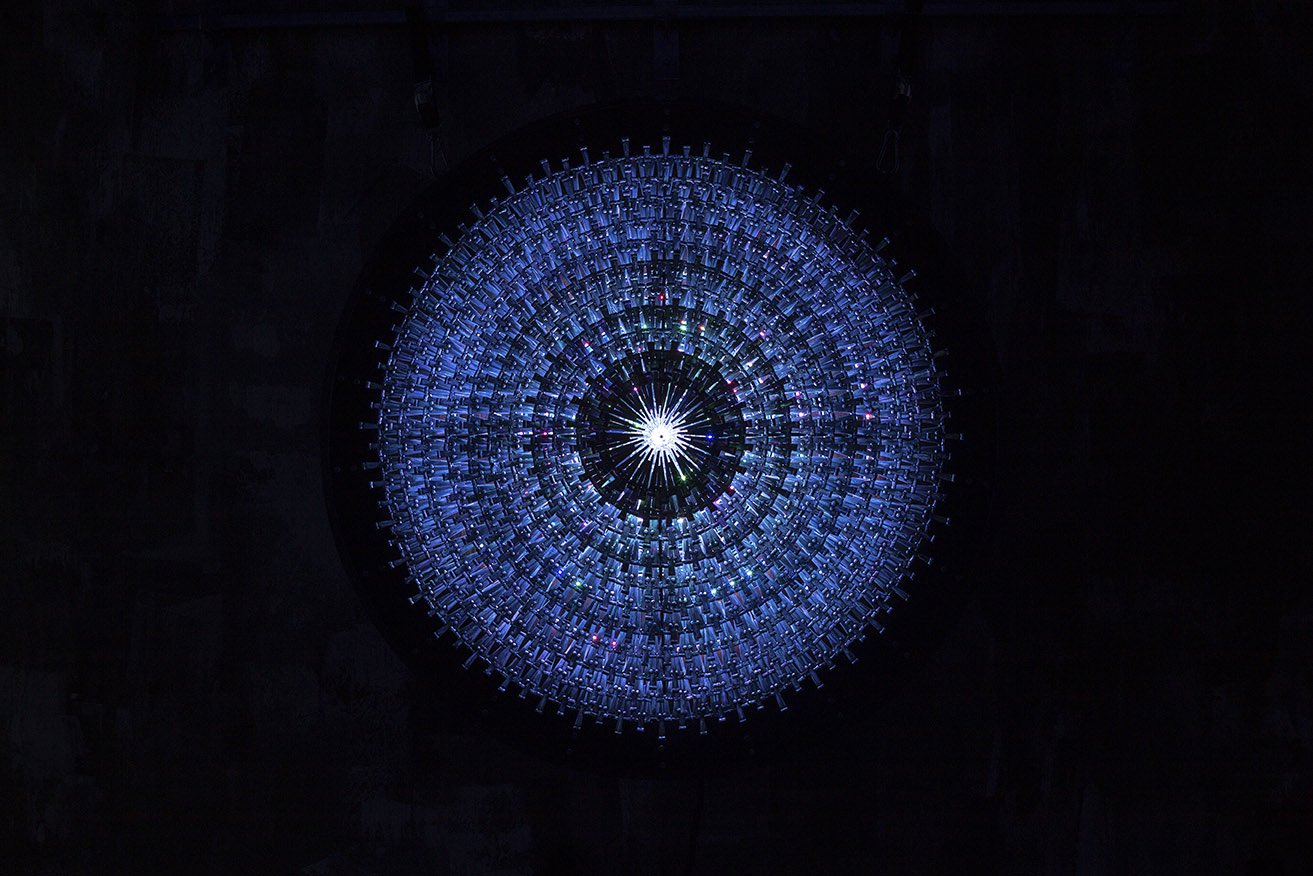
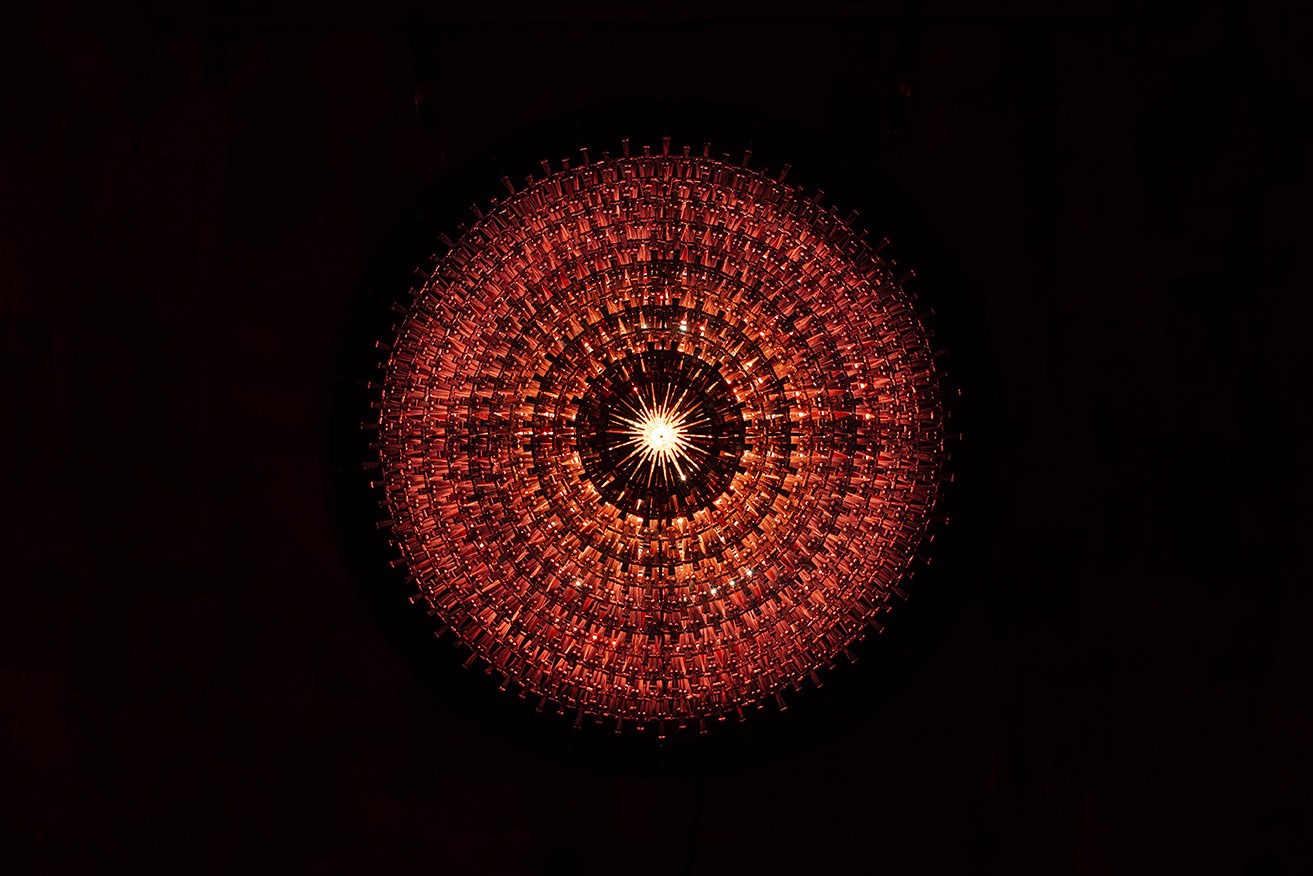
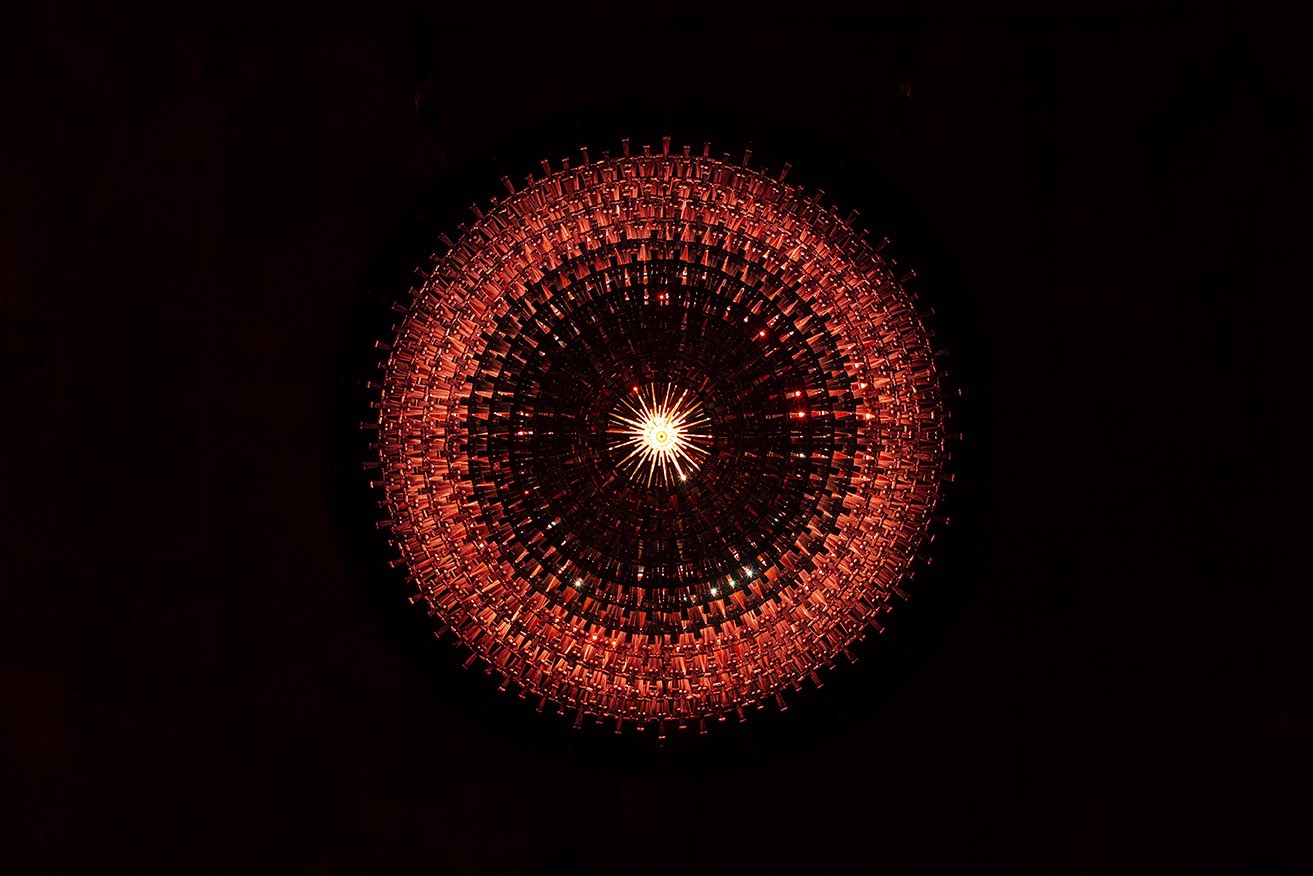
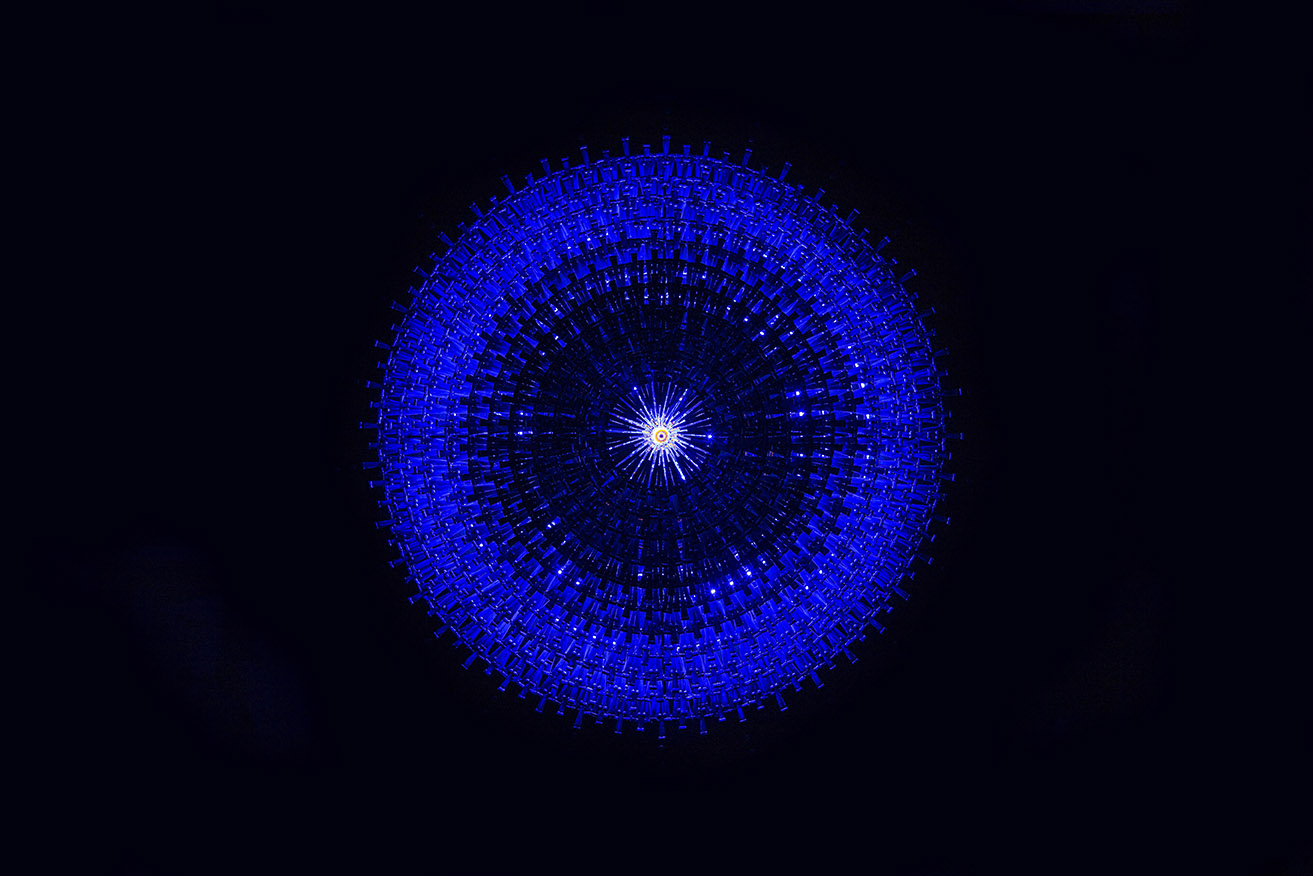
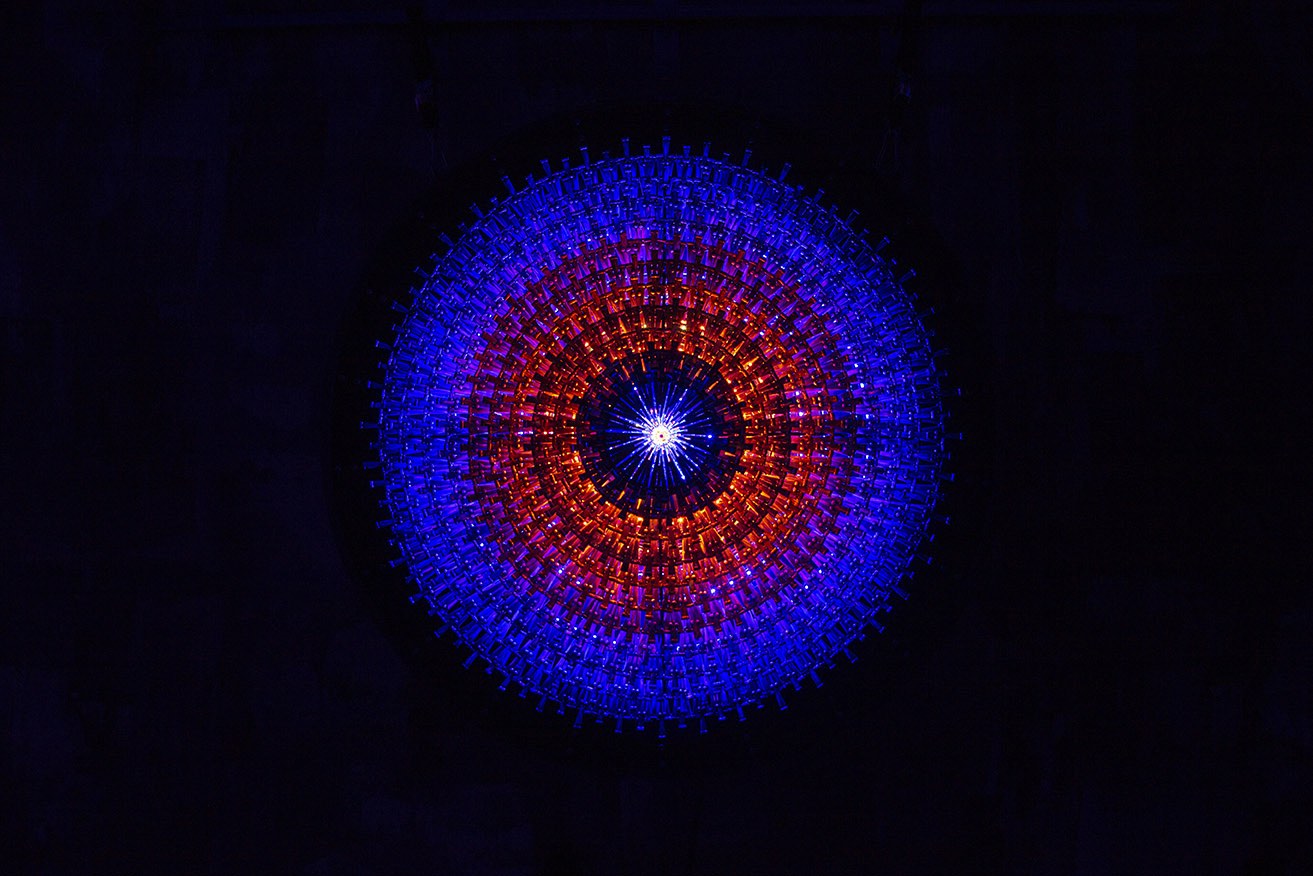
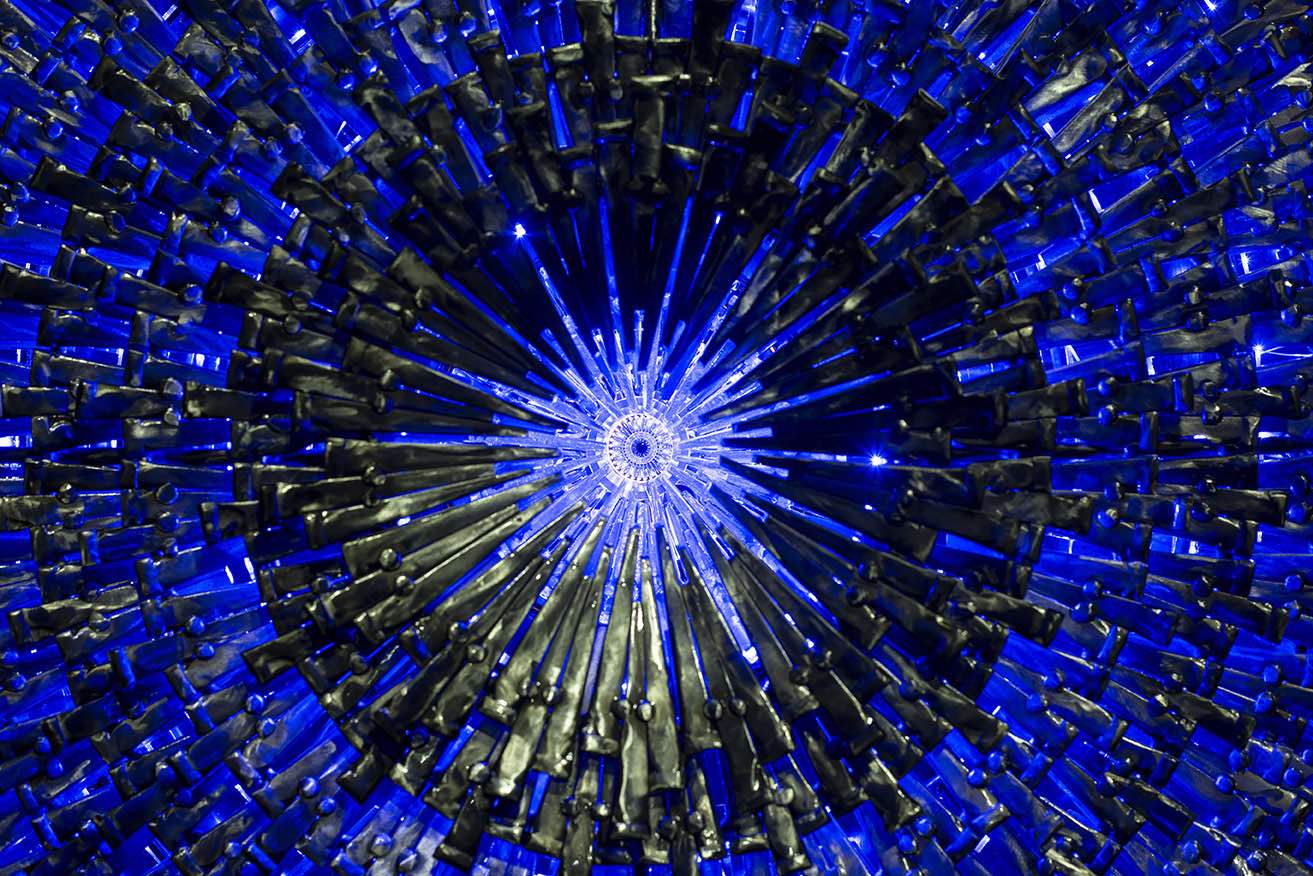
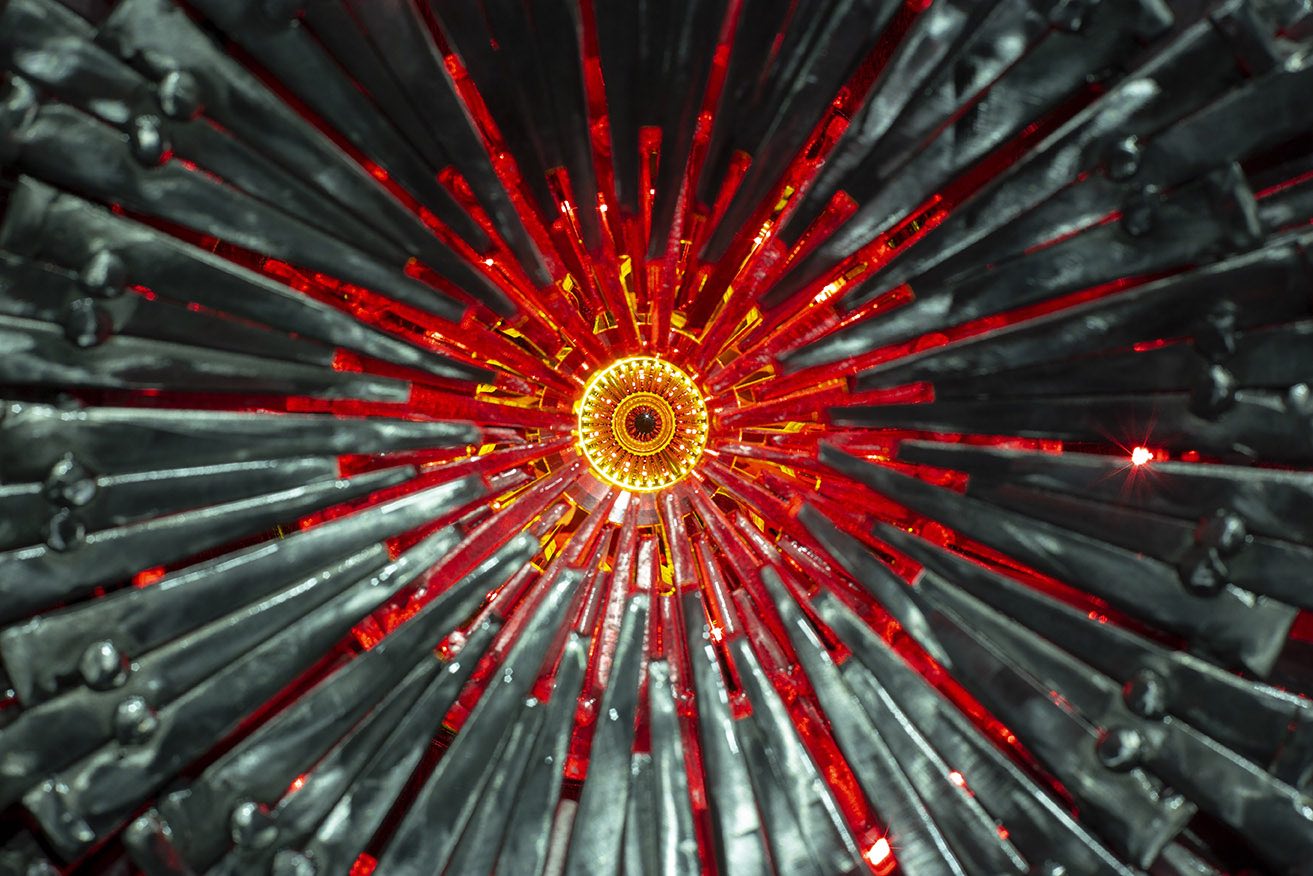
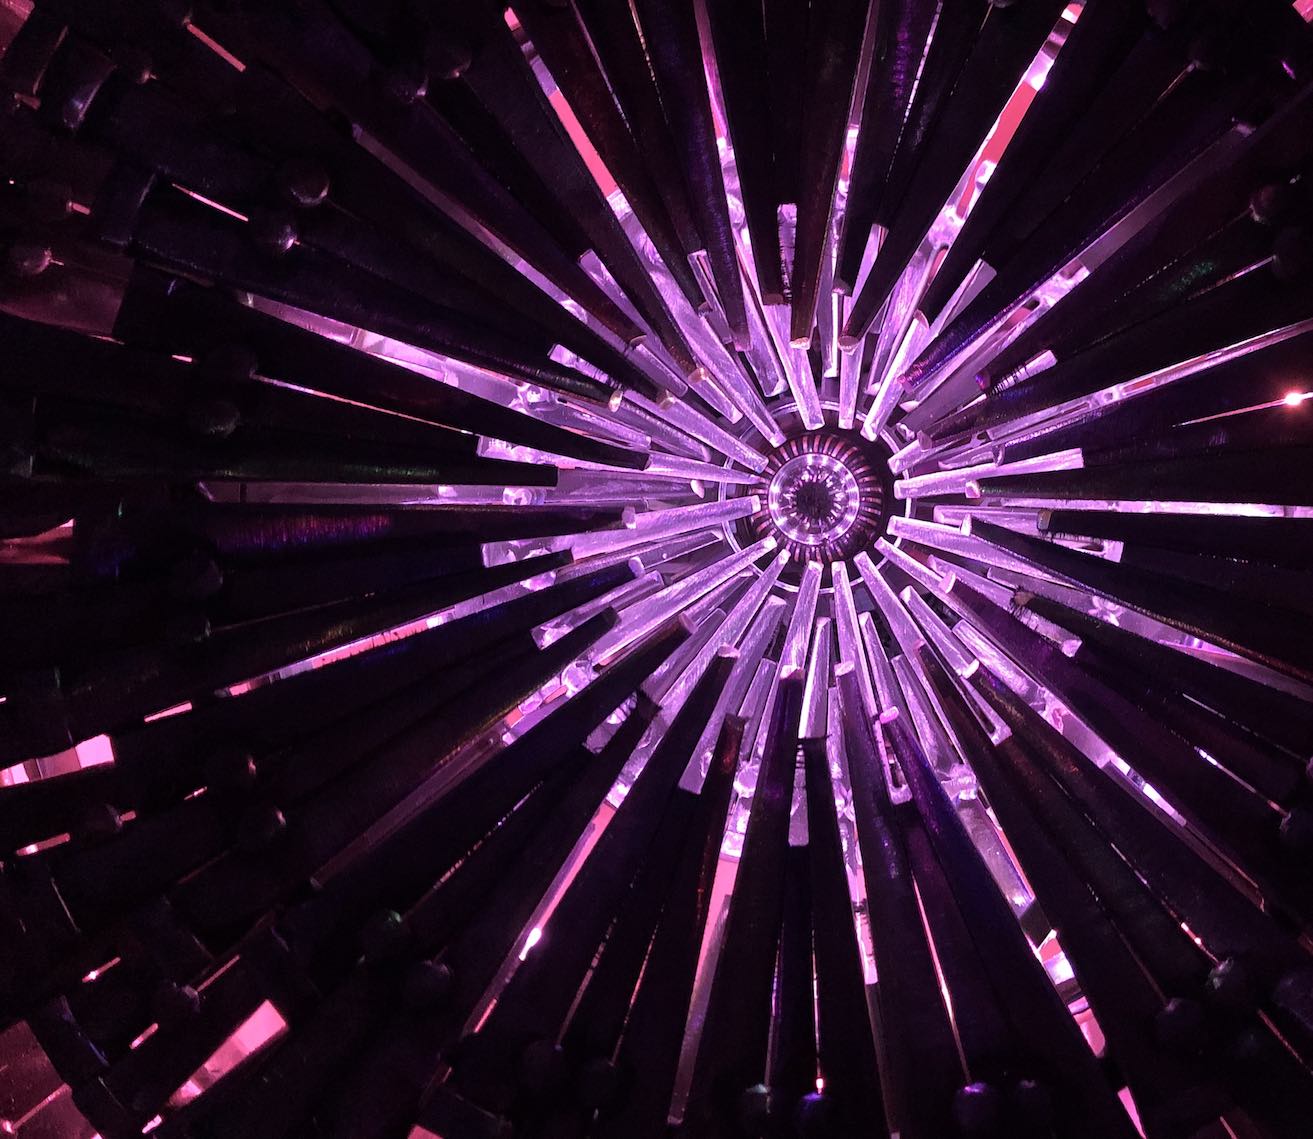
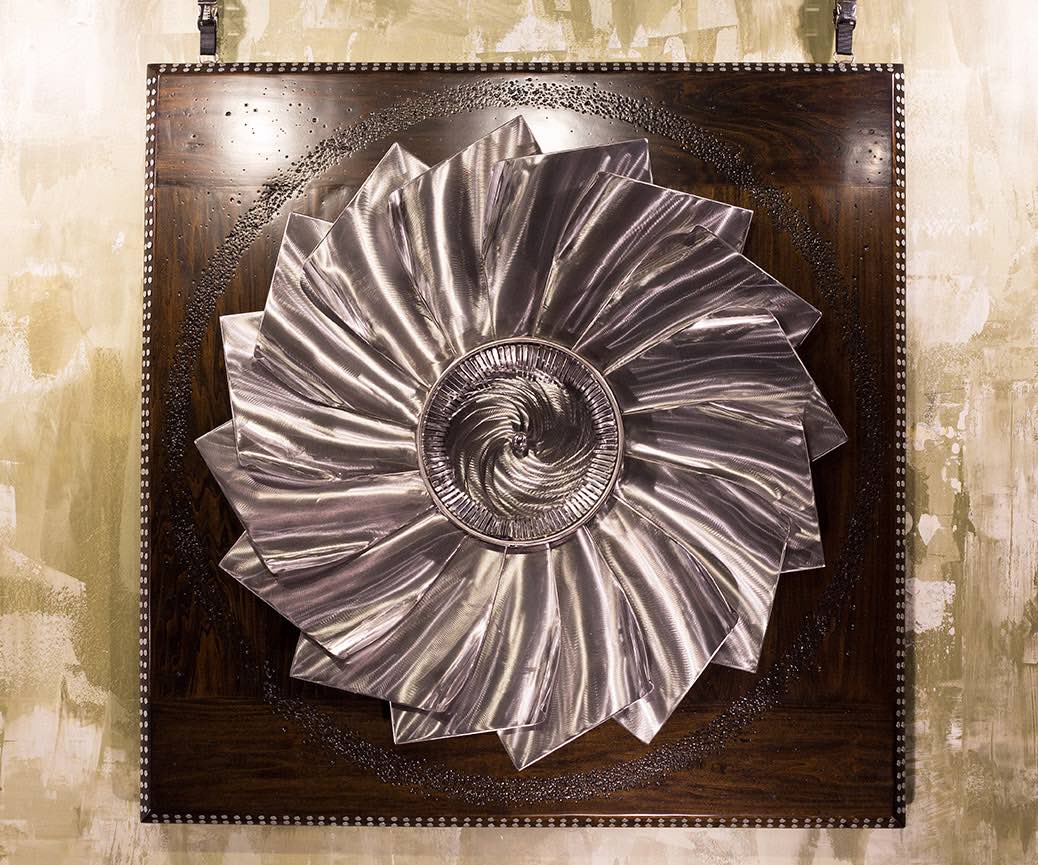
Unlike the other two pieces in the series, being a “star”, Orion wanted to be circular in nature. Made from six 2” poplar wood planks, the finished background is 48” in diameter and beveled to reveal the detailed perimeter. If you removed all the metal, you’d find that the wood is furniture finished on both sides. To funnel all the lighting wiring, and to provide the light a way to escape out of the backside, there is a small 6” hole in the center covered by a custom wire mesh door with a magnetic clasp. The main steel element, “the dome”, is constructed of 11 hoops that are welded to two crisscrossing inner convex beams. The nested round rod hoops (each hoop was custom made) create a wedding cake effect necessary to let the inner light shine through each layer. The dome was then covered with 559 nail “elements”, each containing 3 nails (a few have 4 or 5 when needed to complete the circle cleanly) and are welded at a precise angle for that layer. Each element was welded together, wire brushed, polished, and beveled before permanently being welded in place. This process was painstaking to say the least.
Underneath the outer dome, with less than a ¼ inch clearance, is another metal structure for all the lighting elements. This part was similar in design to the outer dome, but by using flat strips of metal (instead of round) I created a surface to mount the LEDS strips. To enhance the overall “star” effect of the lights, I installed over 1000 ½ inch square mirrors on the backside of each hoop which reflect the light from the outer hoop above.
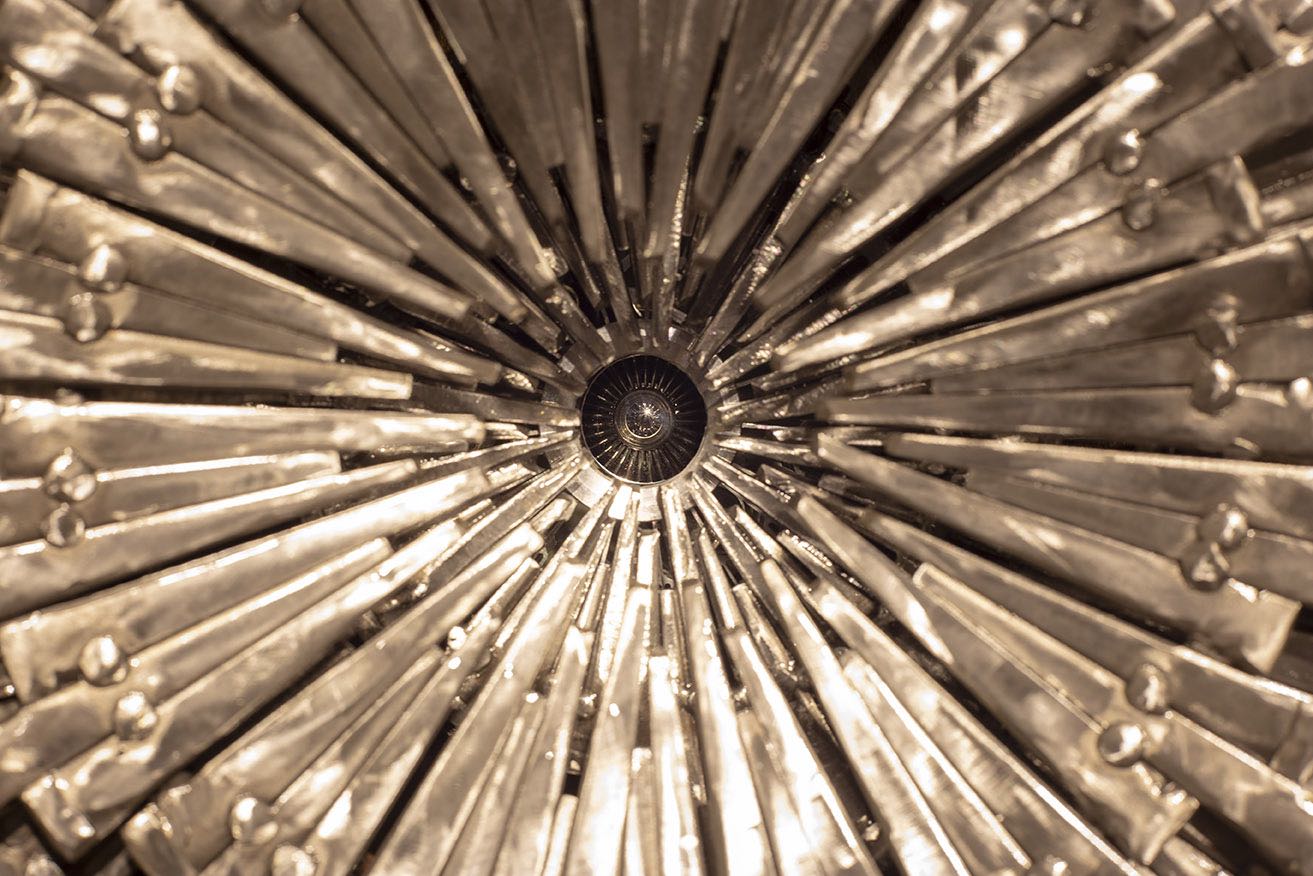
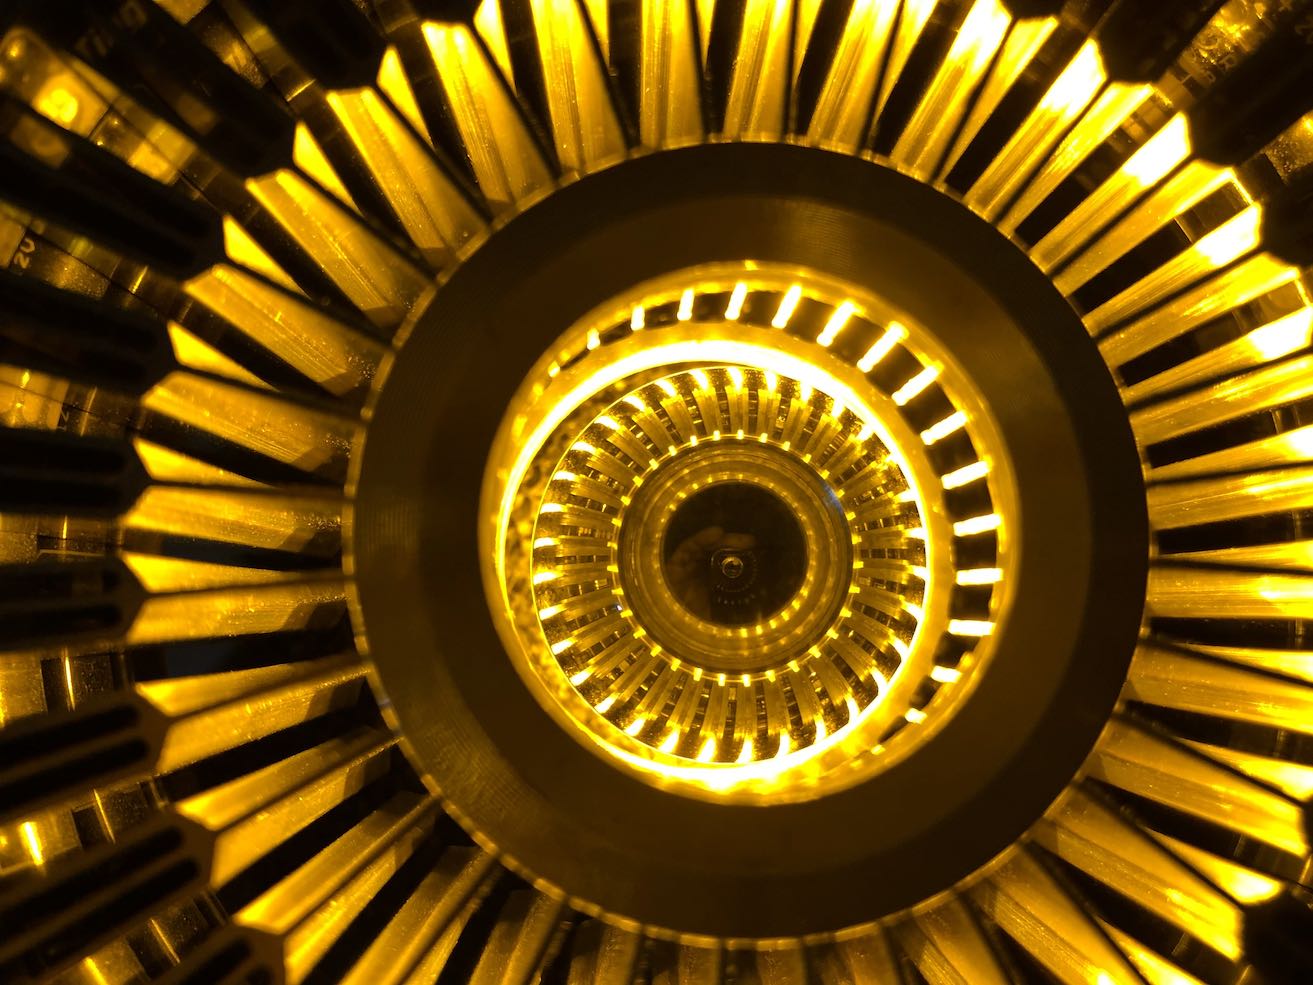
The center piece was the biggest challenge to work out and took me a couple months to configure correctly to get the look I was going for….an eye, that represents the nucleus on this star. The outcome is hypnotizing.
This piece pushed me forward in every way. And, when I say that blood, sweat and tears are part of its construction, I am not exaggerating. Deep into construction, one of my best friends passed away. I used my art as a way to deal with the grief and in doing so sealed in many tears behind the clearcoat. I overcame many build challenges along the way as well, but I have learned over years to just lean in….as I now know these challenges are just opportunities to be creative. On the way, my ability to visualize and create and the same time blossomed to the point that 90% of this piece was done in my head, where the two previous pieces were carefully sketched out along the way.
Like the other two pieces in the series, Orion can be enjoyed in natural light, or as a self-lit piece. Either way, the experience hopes to touch people deeply, cosmically. The finished piece precisely mimics my vision, and I couldn’t be more thrilled with the outcome. I hope you enjoy it.
Special thanks to Aaron K. Price Photography for these amazing pics.
In addition to the featured gallery pics above, I encourage you to review the Step-by-Step Project Pics to see the many stages this project entailed.

